
Welcome back to my Salesforce Apex tutorial series! If you’ve been following along, you’ve already tackled the basics in “Getting Started with Salesforce Apex” and mastered syntax and data types in our last post. Now, we’re stepping into the heart of Apex programming: object-oriented programming (OOP). In this Apex OOP tutorial, we’ll explore how to build Salesforce Apex classes and learn Apex objects, unlocking the power of reusable, structured code.
In this tutorial, I’ll guide you through creating classes, instantiating objects, and leveraging OOP concepts like inheritance, polymorphism, and interfaces—all tailored to Salesforce Apex programming. This post is perfect for beginners looking to master Apex classes or anyone eager to level up their skills. Expect detailed explanations, practical examples, and lessons from my own Apex journey. Ready to build something awesome? Let’s get started!
Why Object-Oriented Programming in Apex?
When I first started with Apex, I wrote simple scripts—loops and variables got the job done. However as my projects grew, I needed a way to organize code better. That’s where OOP comes in. In Apex programming for beginners, OOP lets you structure code into reusable, modular units called classes. These classes define blueprints for objects—real instances you can work with.
In Salesforce, OOP is everywhere. Think about custom objects like “Account” or “Opportunity”—they’re built on similar principles. By mastering Salesforce Apex classes, you can create your own logic, like a customer manager or order processor, that fits seamlessly into the platform. Here’s what we’ll cover:
- Classes and objects
- Constructors
- Methods and properties
- Inheritance
- Polymorphism
- Interfaces
Let’s break it down step by step.
Classes and Objects: The Basics
What’s a Class?
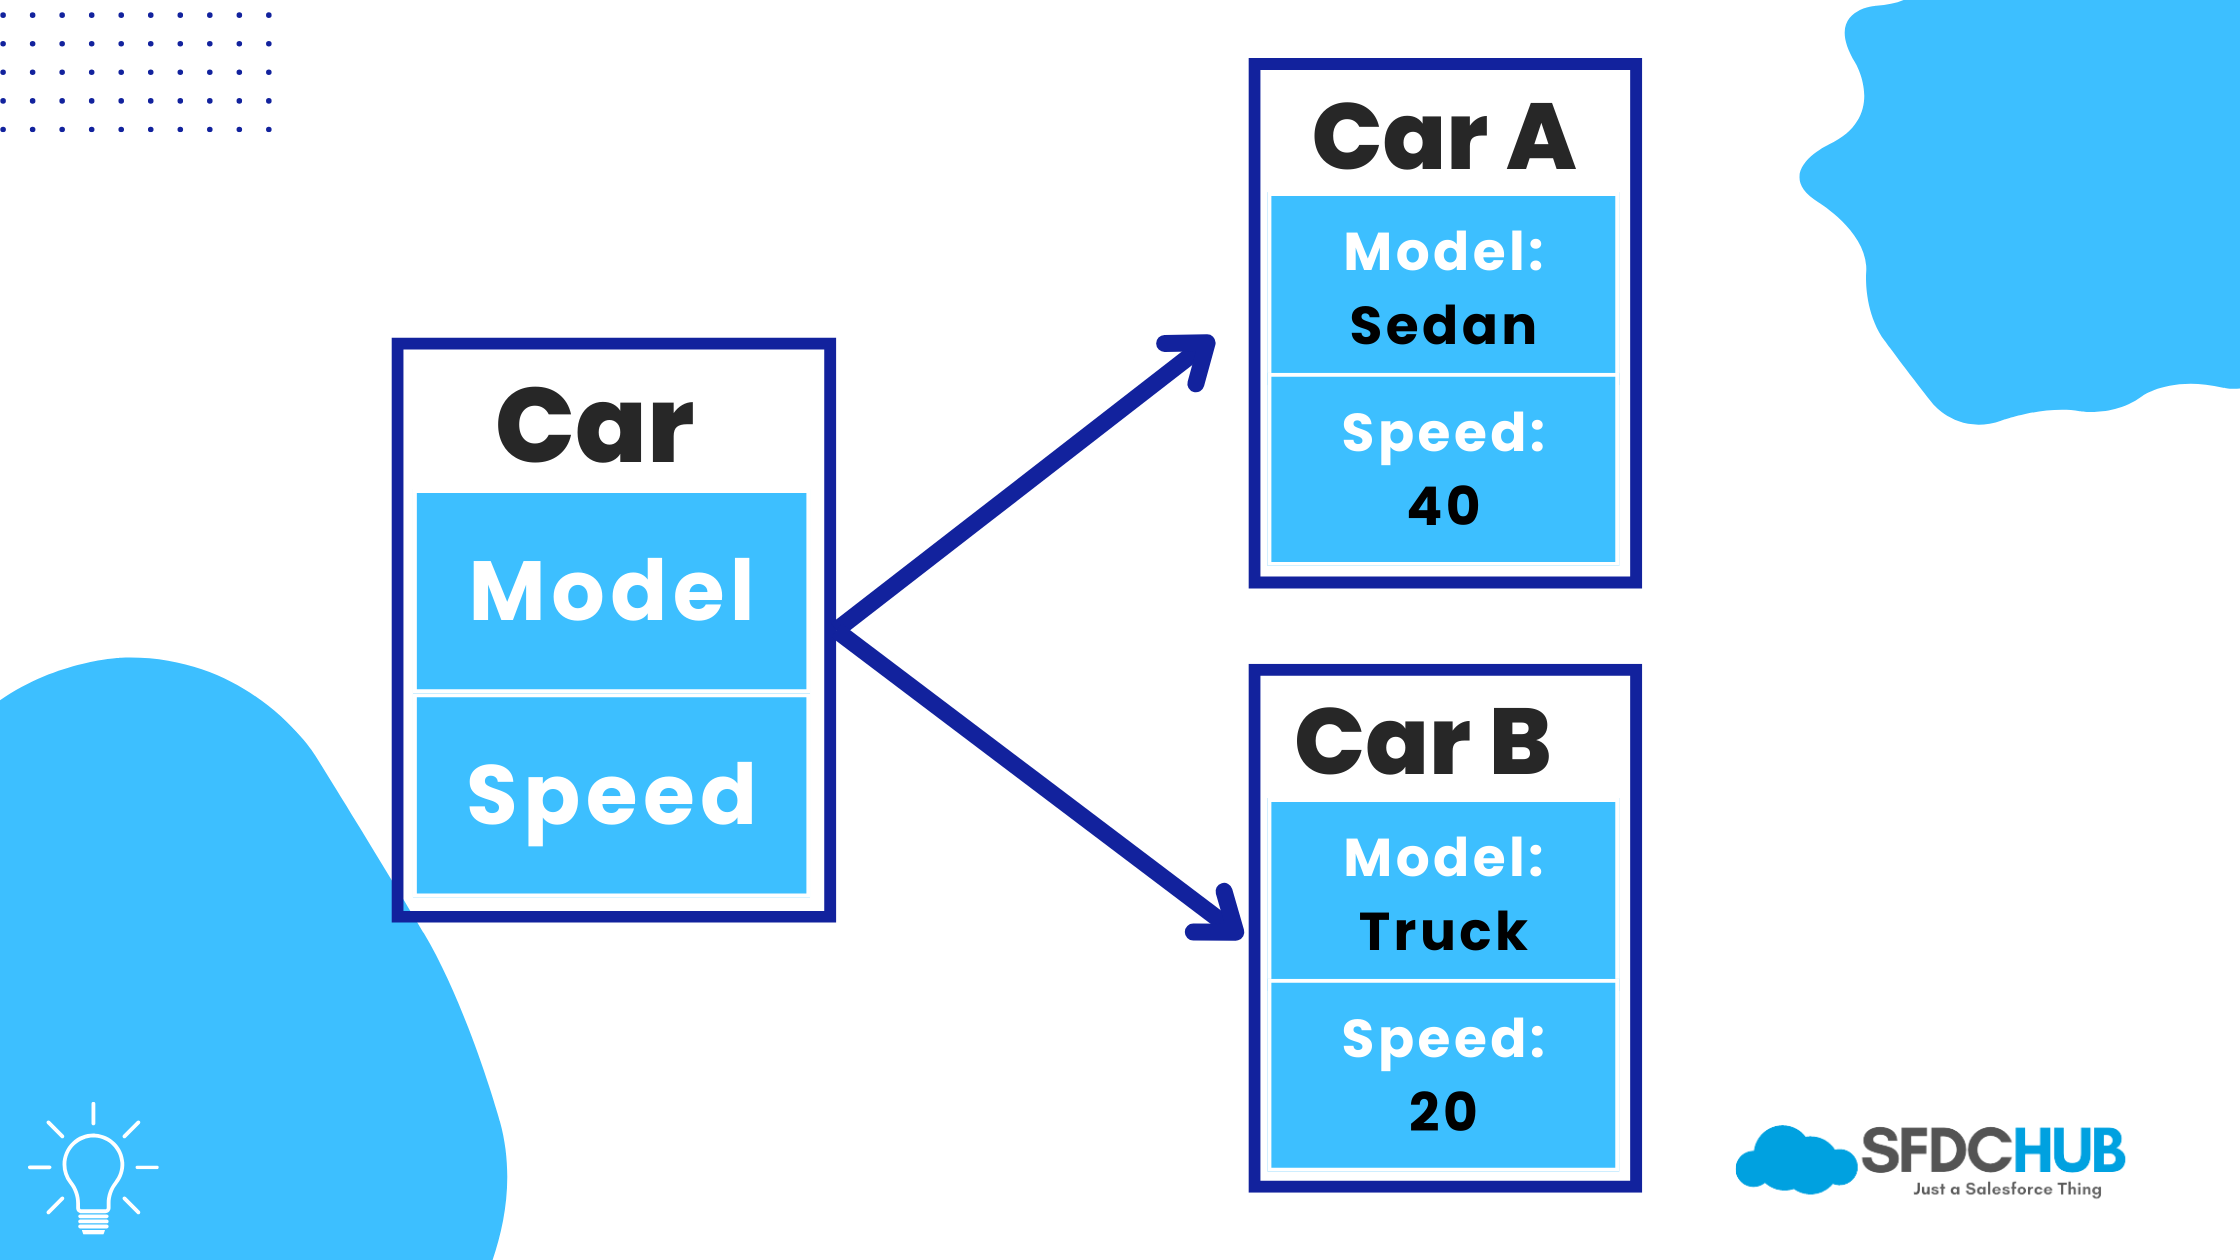
A class in Apex syntax is a template for creating objects. It defines properties (data) and methods (actions) that objects based on it will have. Think of it like a cookie cutter—once defined, you can stamp out as many cookies (objects) as you need.
Here’s a simple class:
public class Car {
    public String model = 'Sedan'; // Property
    public Integer speed = 0;

    public void accelerate() { // Method
        speed += 10;
        System.debug('Speed is now: ' + speed);
    }
}public: Access modifier (more on this later).class Car: Defines the class name.modelandspeed: Properties (variables).accelerate(): A method that changes the speed.
Creating Objects
An object is an instance of a class. To create one, use the new keyword:
Car myCar = new Car();
myCar.accelerate(); // Outputs: Speed is now: 10
myCar.model = 'SUV';
System.debug('Model: ' + myCar.model); // SUV
new Car(): Creates an object.- Dot notation (
.) accesses properties and methods.
When I first wrote a class, seeing it come to life as an object was a thrill—it’s like giving your code a personality!
Constructors: Setting Up Your Objects
Constructors are special methods that run when an object is created. They set initial values or prepare the object. Apex auto-provides a default constructor (no arguments), but you can define your own:
public class Car {
    public String model;
    public Integer speed;

    // Default constructor
    public Car() {
        model = 'Sedan';
        speed = 0;
    }

    // Parameterized constructor
    public Car(String carModel, Integer initialSpeed) {
        model = carModel;
        speed = initialSpeed;
    }

    public void accelerate() {
        speed += 10;
    }
}
Usage:
Car basicCar = new Car(); // Uses default constructor
System.debug(basicCar.model); // Sedan

Car customCar = new Car('Truck', 20);
System.debug(customCar.speed); // 20
Constructors saved me time by ensuring objects start with the right data—no manual setup needed!
Methods and Properties: Adding Functionality
Properties
Properties store an object’s data. You can control access with modifiers:
- public: Accessible everywhere.
- private: Only accessible within the class.
- protected: Accessible within the class and subclasses.
Add getters and setters for controlled access:
public class Car {
    private String model;
    public Integer speed { get; set; } // Auto getter/setter

    public void setModel(String newModel) {
        model = newModel;
    }

    public String getModel() {
        return model;
    }
}
Usage:
Car myCar = new Car();
myCar.setModel('Coupe');
System.debug(myCar.getModel()); // Coupe
myCar.speed = 30; // Using auto-setter
Methods
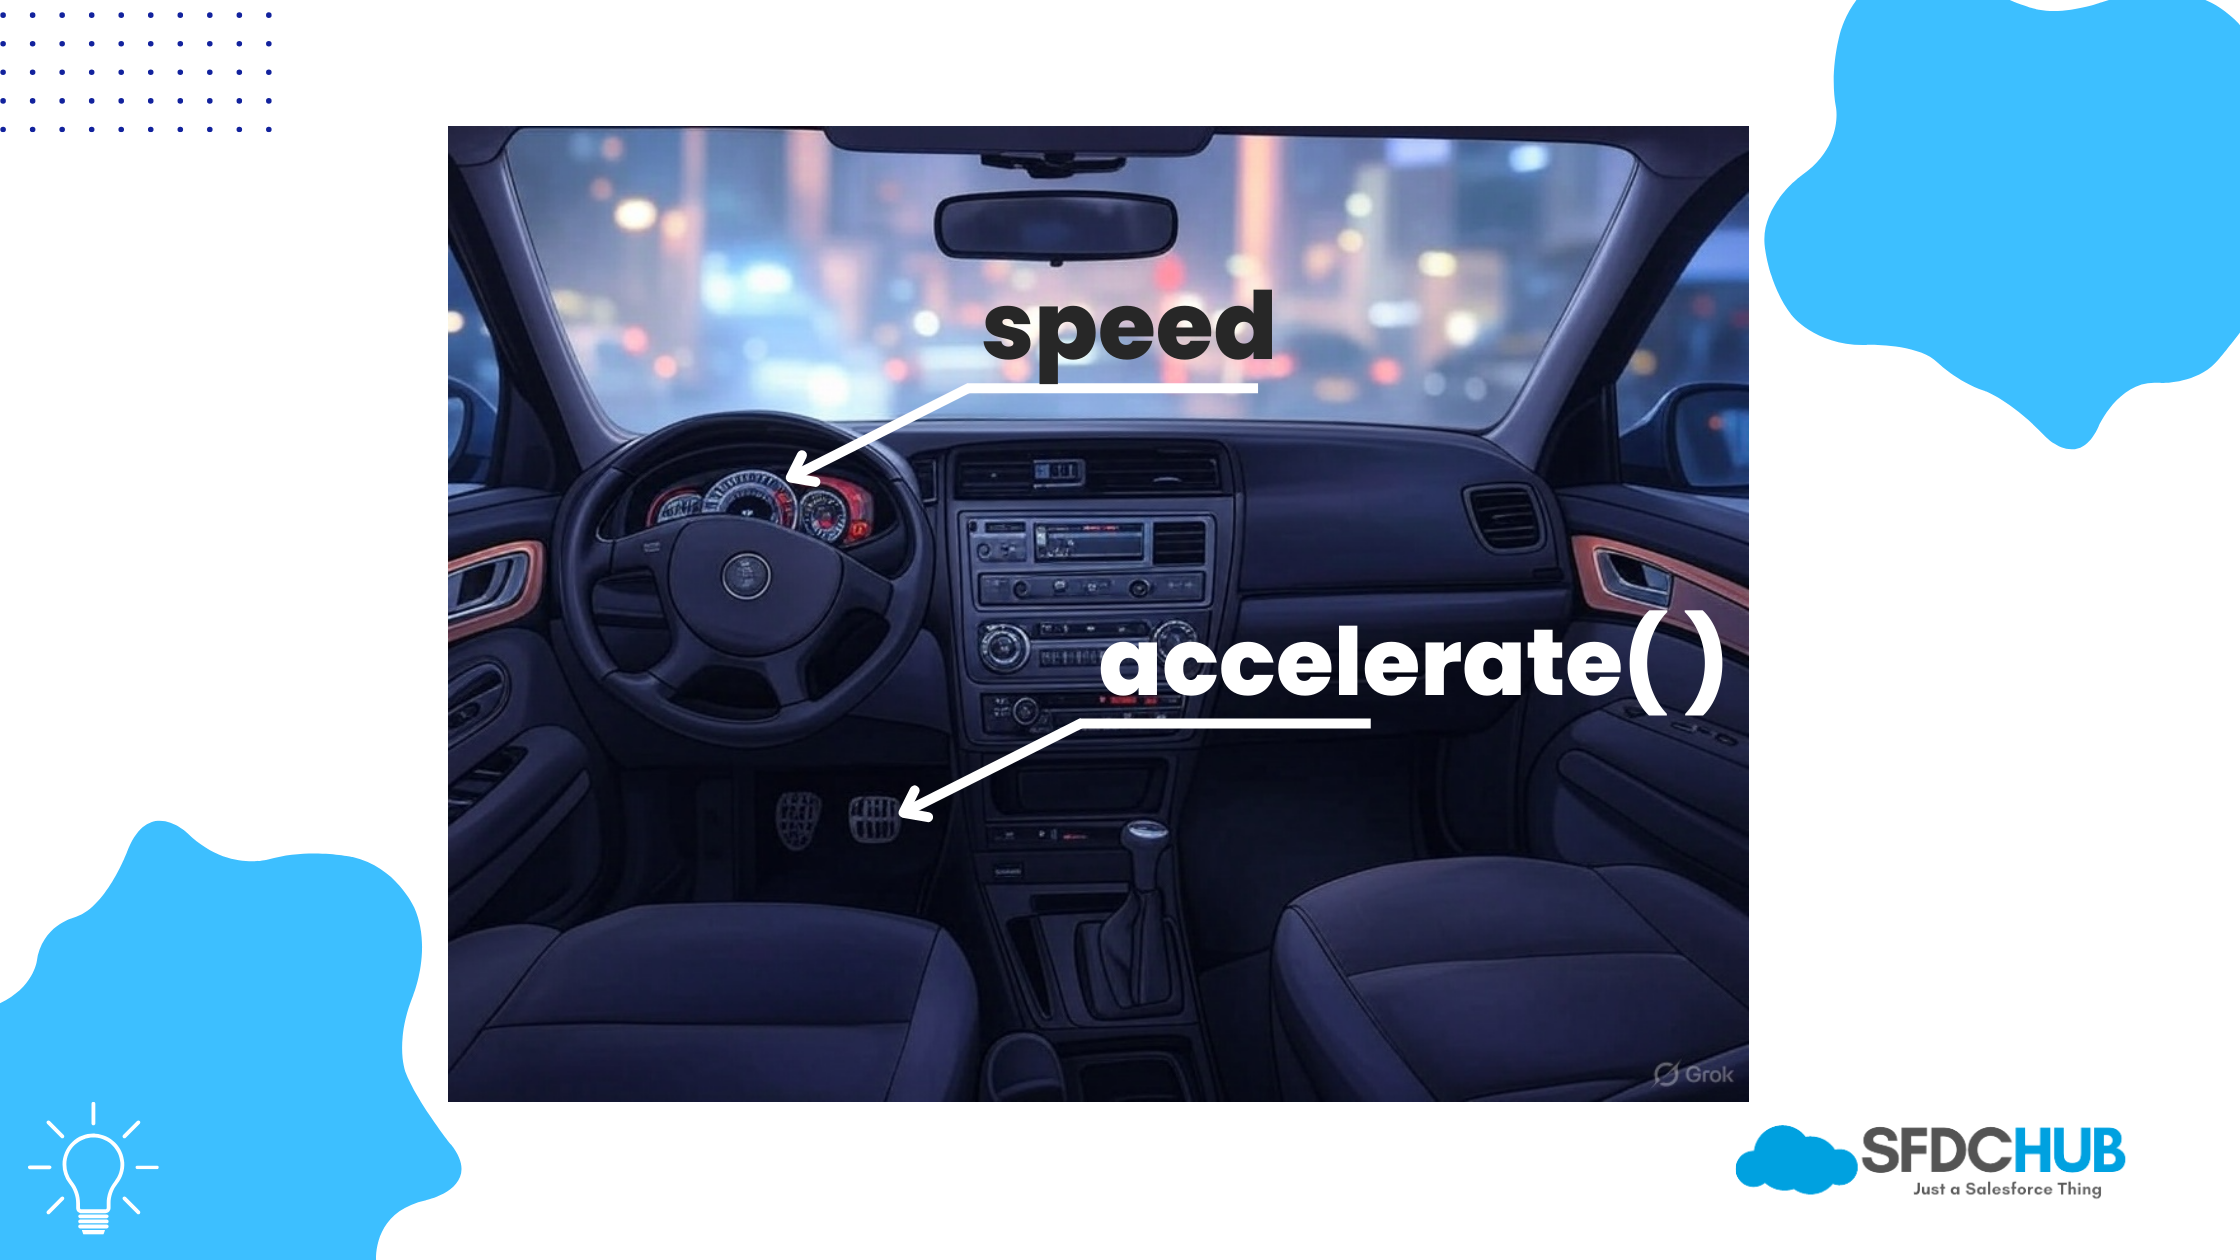
Methods define actions. They can return values or not (void):
public class Car {
    public Integer speed = 0;

    public void accelerate() {
        speed += 10;
    }

    public Integer getSpeedInKmh() {
        return (Integer)(speed * 1.60934); // Miles to kilometers
    }
}
Usage:
Car myCar = new Car();
myCar.accelerate();
System.debug(myCar.getSpeedInKmh()); // ~16
Methods make your classes dynamic—I love how they turn static data into actionable logic.
Inheritance: Extending Classes
Inheritance lets one class (subclass) inherit properties and methods from another (superclass). Use the extends keyword:
public virtual class Vehicle {
    public String type;

    public Vehicle() {
        type = 'Generic';
    }

    public virtual void move() {
        System.debug('Vehicle is moving.');
    }
}

public class Car extends Vehicle {
    public Integer speed;

    public Car() {
        speed = 0;
    }

    public override void move() {
        speed += 5;
        System.debug('Car speeds up to ' + speed);
    }
}- virtual: Allows overriding in subclasses.
- override: Redefines the superclass method.
Usage:
Car myCar = new Car();
myCar.move(); // Car speeds up to 5
System.debug(myCar.type); // Generic (inherited)
Inheritance clicked for me when I built a hierarchy of customer types—it’s like a family tree for code!
Polymorphism: Flexibility in Action
Polymorphism lets you treat subclass objects as their superclass type, with overridden methods adapting behavior. Example:
Vehicle myVehicle = new Car(); // Car as a Vehicle
myVehicle.move(); // Calls Car’s move(), not Vehicle’s
You can also use lists of superclass types:
List<Vehicle> fleet = new List<Vehicle>();
fleet.add(new Car());
fleet.add(new Vehicle());
for (Vehicle v : fleet) {
    v.move(); // Car speeds up; Vehicle moves generically
}
Polymorphism makes your code flexible—I’ve used it to process different record types uniformly.
Interfaces: Defining Contracts
Interfaces specify methods that classes must implement, ensuring consistency. Use interface and implements:
public interface Drivable {
    void startEngine();
    Integer getSpeed();
}

public class Car implements Drivable {
    public Integer speed = 0;

    public void startEngine() {
        System.debug('Engine started.');
    }

    public Integer getSpeed() {
        return speed;
    }

    public void accelerate() {
        speed += 10;
    }
}
Usage:
Drivable myCar = new Car();
myCar.startEngine(); // Engine started
myCar.accelerate();
System.debug(myCar.getSpeed()); // 10
Interfaces are great for standardization—like ensuring all “drivable” objects have a startEngine() method.
Practical Example: Order Manager
Let’s build a realistic example—an order management class:
public virtual class Order {
    public String orderId;
    public Decimal total;

    public Order(String id) {
        orderId = id;
        total = 0.0;
    }

    public virtual Decimal calculateTotal() {
        return total;
    }
}

public class DiscountedOrder extends Order {
    public Decimal discountRate;

    public DiscountedOrder(String id, Decimal rate) {
        super(id); // Call superclass constructor
        discountRate = rate;
    }

    public override Decimal calculateTotal() {
        Decimal baseTotal = total;
        return baseTotal - (baseTotal * discountRate);
    }

    public void addItem(Decimal price) {
        total += price;
    }
}

public class OrderManager {
    public static void processOrder() {
        DiscountedOrder myOrder = new DiscountedOrder('ORD123', 0.1); // 10% discount
        myOrder.addItem(100.00);
        myOrder.addItem(50.00);
        System.debug('Final Total: ' + myOrder.calculateTotal()); // 135.00
    }
}
Run it with OrderManager.processOrder();. This uses:
- Inheritance (
DiscountedOrder extends Order). - Methods (
addItem,calculateTotal). - Properties (
total,discountRate).
This was my “aha” moment—OOP made complex logic manageable!
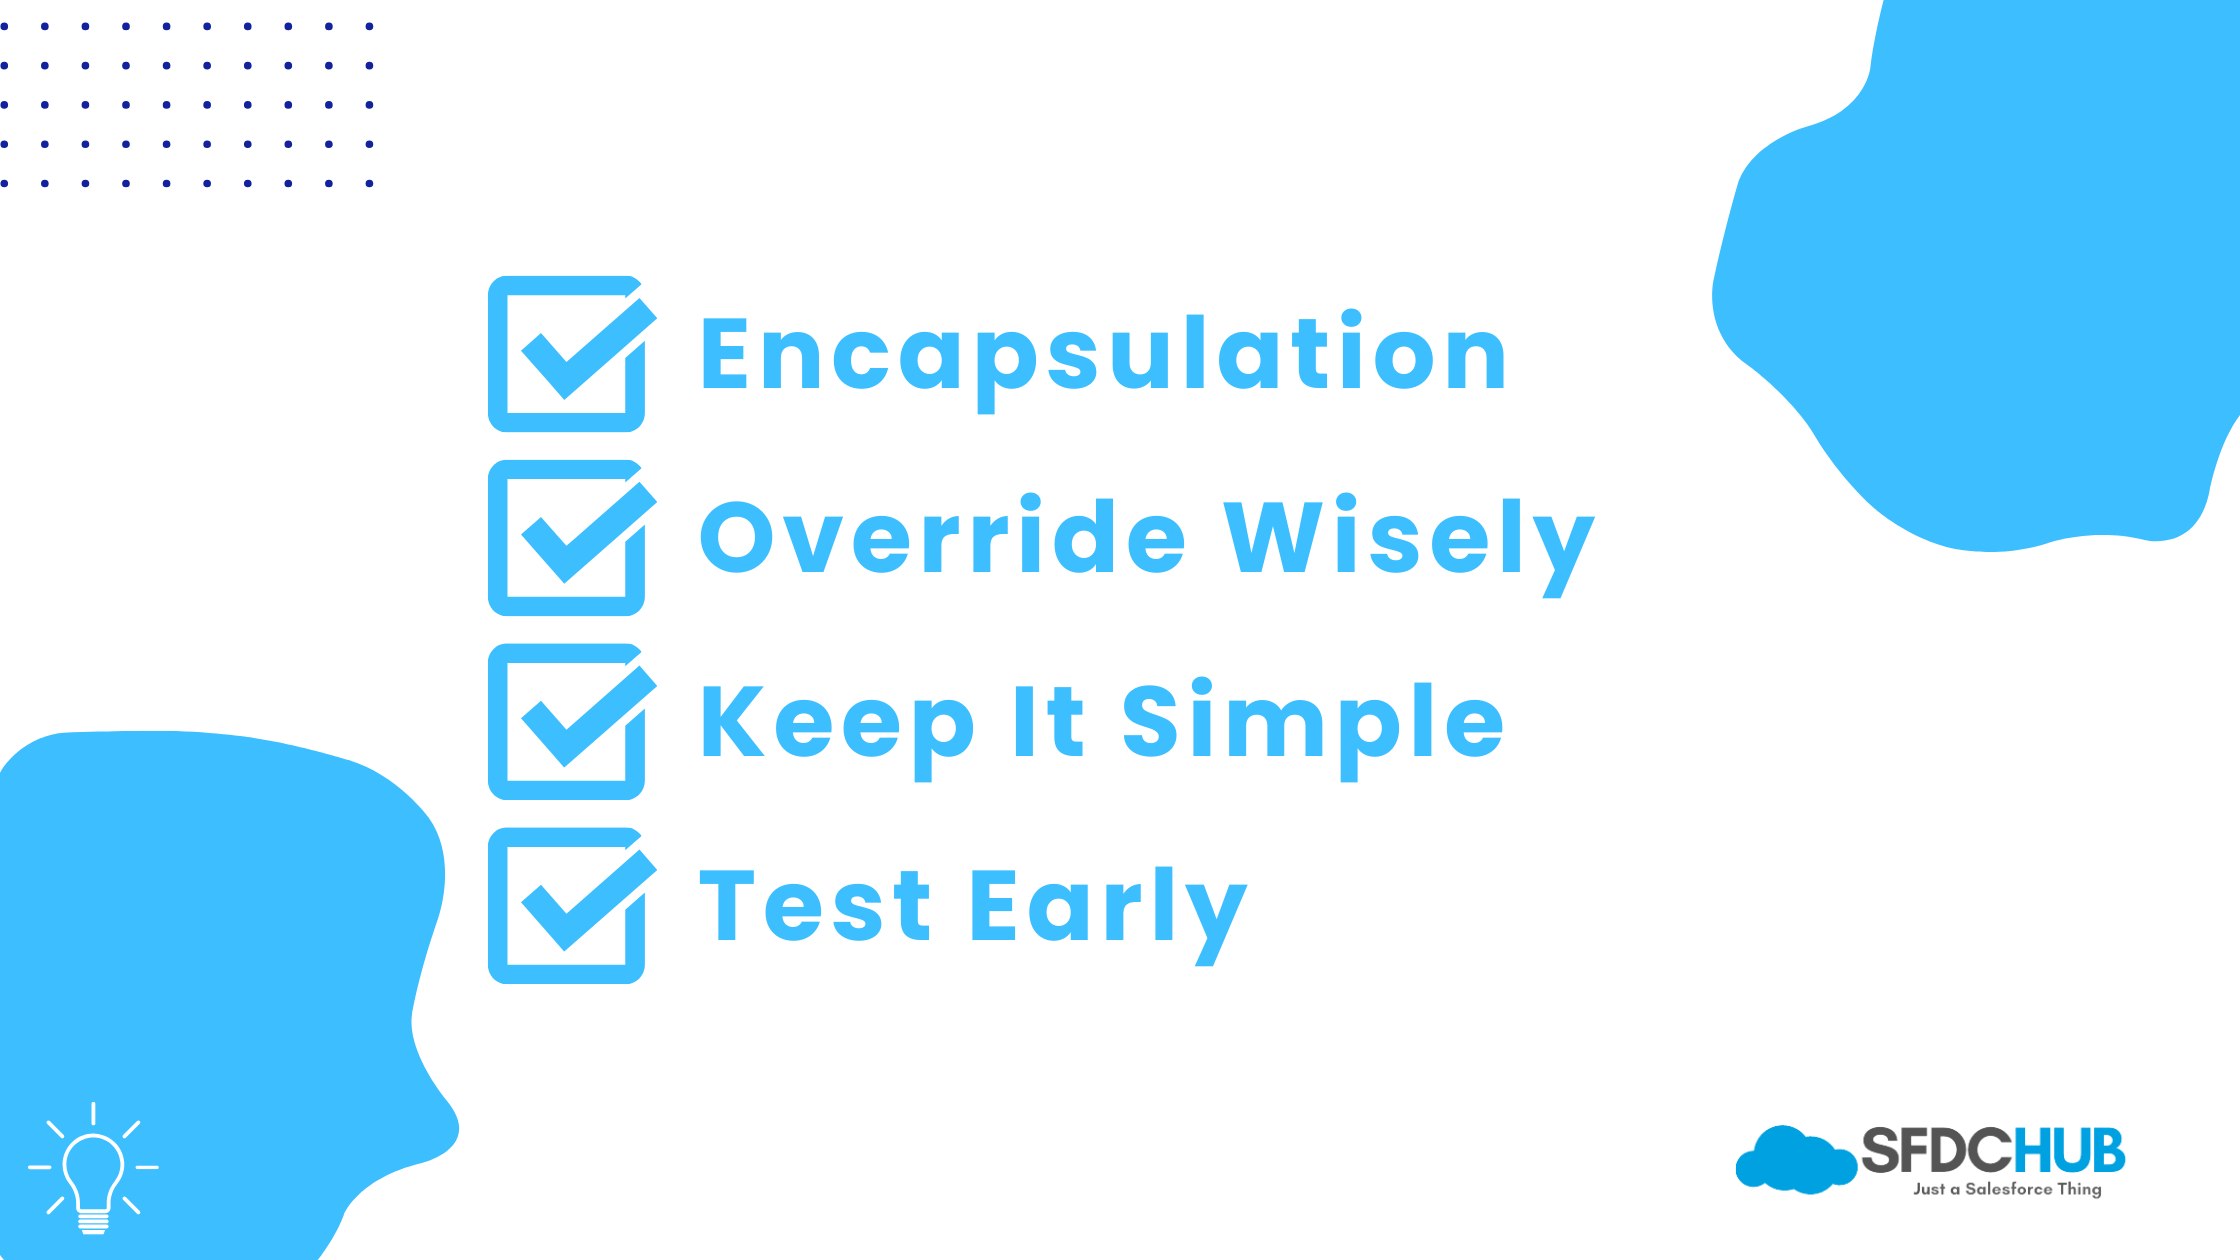
Tips for Mastering Classes and Objects
- Encapsulation: Use private and getters/setters to protect data.
- Override Wisely: Only override when behavior needs to change.
- Keep It Simple: Start with small classes before going big.
- Test Early: Run snippets in the Developer Console to see results.
I learned encapsulation the hard way—public variables caused chaos until I locked them down!
References
Conclusion
In this Apex OOP tutorial, we’ve built a foundation with Salesforce Apex classes and objects. You’ve learned to create classes, instantiate objects, and harness inheritance, polymorphism, and interfaces—all key to learning Apex objects. This opens up a world of reusable, organized code in Salesforce Apex programming.
Next, we’ll dive into data manipulation with SOQL and DML. For now, play with the OrderManager—maybe add a new subclass or method. The more you experiment, the more you’ll master Apex programming.
Thanks for joining me—see you in the next post!

Abhishek
Mr. Abhishek, an experienced Salesforce Application Architect with over 10+ years of development experience and 12x Salesforce Certified. His expertise is in Salesforce Development, including Lightning Web Components, Apex Programming, and Flow has led him to create his blog, SFDC Hub.