Welcome to the first post in my Salesforce Apex tutorial series! If you’re new to coding or just stepping into Salesforce’s vast ecosystem, you’ve landed in the perfect spot. Today, we’re unleashing the power of Apex—Salesforce’s custom programming language—to kickstart your coding journey. Whether you’re an admin eager to automate or a budding developer ready to conquer custom solutions, this Apex syntax tutorial is your starting line.
In this post, I’ll guide you through what Apex is, why it’s a game-changer, how to set up your environment (including VS Code with sf commands), and your first “Hello World” program—all tailored to help you learn Apex programming. Expect beginner-friendly explanations, hands-on examples, and lessons from my own shaky start in Salesforce Apex programming. This is your chance to master the basics and spark your coding passion. Ready to dive in? Let’s unleash Apex together!
What is Salesforce Apex, and Why Should You Care?
Apex: Salesforce’s Coding Superpower
Apex is a strongly-typed, object-oriented programming language built for Salesforce. It’s like Java with a Salesforce twist, running on the platform’s servers to extend beyond point-and-click tools. When I first encountered Apex, I wondered, “Why not stick to Flows?” Here’s why: Apex tackles complex logic, integrations, and bulk operations that declarative tools can’t handle.
Think of Apex as your key to mastering Apex programming—it’s where Salesforce customization gets serious.
Why Learn Apex?
- Power: Automate massive updates—like flipping 1,000 records in a snap.
- Flexibility: Connect Salesforce to APIs or craft bespoke logic.
- Career Edge: Apex skills open doors to developer roles and certifications.
- Joy: Coding’s a creative thrill once you crack it!
My Apex “Aha!” moment came when I automated a lead routing task that used to take hours—seconds later, I was hooked!
Setting Up Your Apex Environment
Before we code, let’s set up your workspace. You’ve got two fantastic options: the Salesforce Developer Console and VS Code with the Salesforce CLI (sf commands). Both are free and beginner-friendly—let’s get them ready.
Step 1: Grab a Salesforce Developer Org
A Developer Edition Org is your free sandbox for Apex experiments.
- How: Sign up at developer.salesforce.com/signup—just an email and a few clicks.
- Why: It’s a full Salesforce instance with no cost and is perfect for learning.
- Tip: Use a unique email to keep it separate from work orgs.
I snagged my dev org in minutes—it’s your safe space to mess up and learn!
Step 2A: Developer Console—Quick and Easy
The Developer Console is Salesforce’s built-in IDE, ideal for jumping straight in.
- How: In your org, click the gear icon > Developer Console.
- What: A browser-based tool to write, run, and debug Apex—no downloads needed.
- Setup:
- Open it—see the code editor and log panel.
- Enable logs: Setup > Debug Logs > New, pick your user, and set Apex to “DEBUG.”
The Console’s simplicity won me over—no setup fuss, just coding!
Step 2B: VS Code with Salesforce CLI—Pro Power
For a modern, scalable setup, VS Code with the Salesforce CLI (sf commands) is your next-level choice. It’s a bit more involved but offers pro features—perfect for beginners to explore now or grow into later.
- How:
- Install VS Code: Download from code.visualstudio.com—works on Windows, Mac, or Linux.
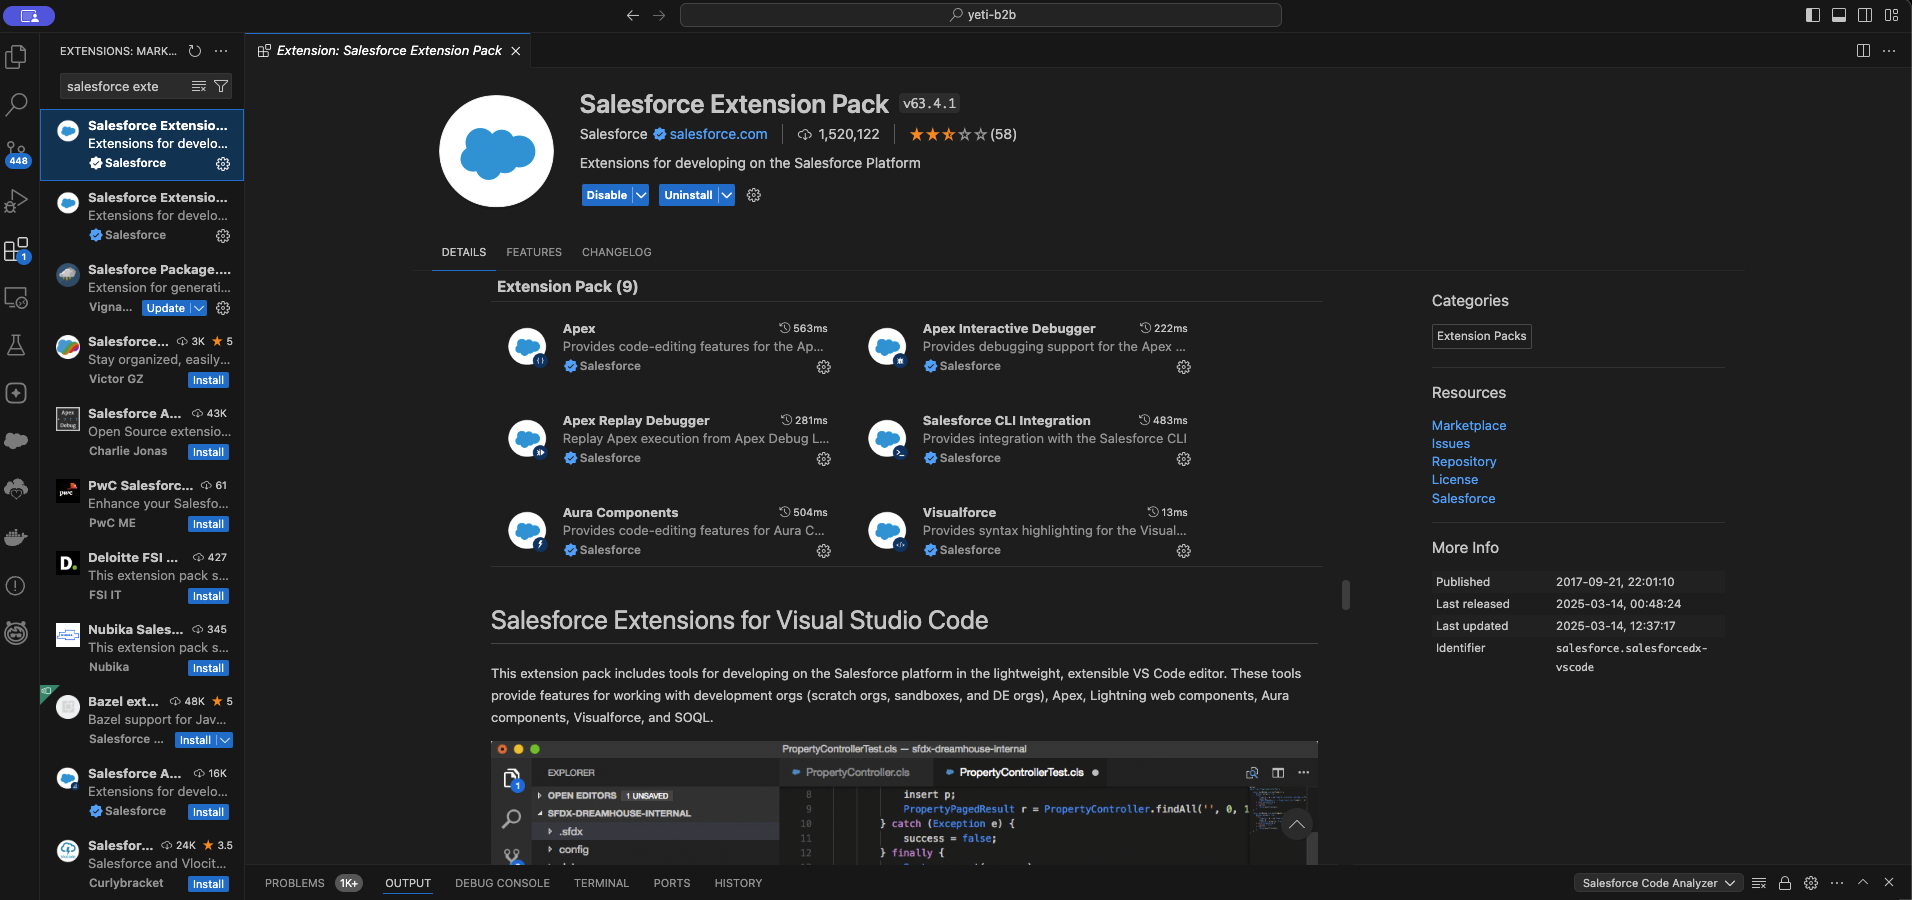
- Add Salesforce Extensions: In VS Code, go to Extensions (
Ctrl+Shift+XorCmd+Shift+X), search “Salesforce Extension Pack,” and install. - Install Salesforce CLI: Get it from developer.salesforce.com/tools/salesforcecli—it’s your command-line bridge to Salesforce.
- Authorize Your Org: Open a terminal in VS Code (
Ctrl+Shift+porCmd+Shift+p), runsf org login web --instance-url https://test.salesforce.com, log in to your dev org, and authorize. - Create a Project: Run
sf project generate --name ApexJourneyto set up a folder structure.
- What: A full-featured editor with syntax highlighting, debugging, and Git integration.
- Why: It’s scalable—start simple, grow into a pro workflow.
My first VS Code setup took 20 minutes, but the autocomplete and error hints made coding feel effortless!
Step 3: Pick Your Path
- Console: Fast start, no install—use it today.
- VS Code: More setup means more power. Try it now, or ease in later.
I kicked off with the Console, then switched to VS Code as my projects grew—both work for “Hello World”!
Your First Apex Program: Hello World
Let’s write your first Apex code—a “Hello World” to spark your journey. We’ll do it in both tools.
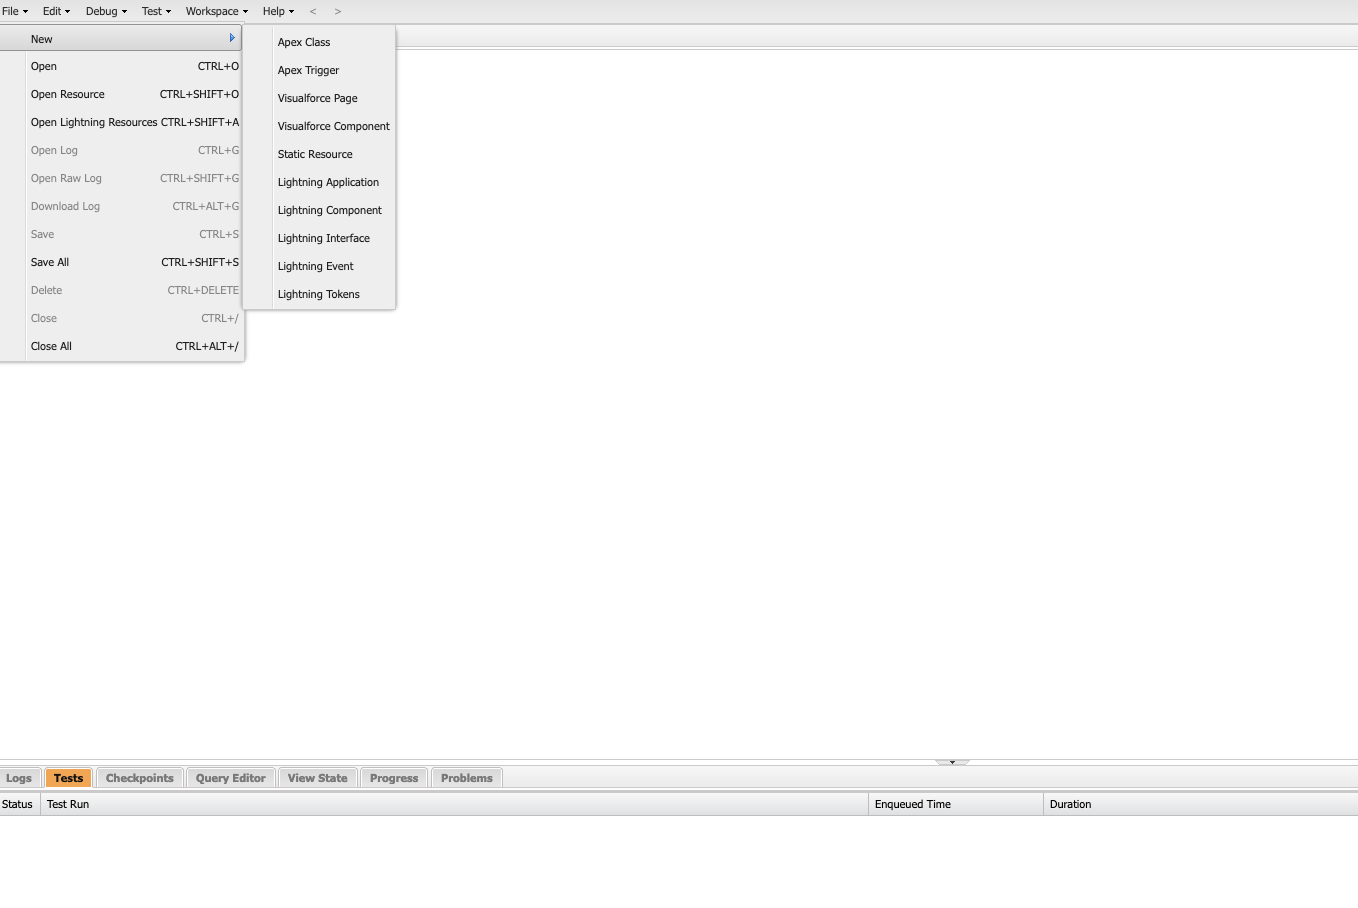
In Developer Console
- Open the Console.
- File > New > Apex Class, name it
HelloWorld. - Enter:
public class HelloWorld {
    public static void sayHello() {
        System.debug('Hello, Salesforce World!');
    }
}- Save (Ctrl+S or Cmd+S).
- Debug > Open Execute Anonymous Window, type:
HelloWorld.sayHello(); - Run it—check the Logs tab for DEBUG|Hello, Salesforce World!.
In VS Code
- Open your
ApexJourneyproject in VS Code. - Right-click
force-app/main/default/classes, select “Create Apex Class” (via Salesforce Extension), name itHelloWorld. - Paste the same code and save.
- Deploy it: In the terminal, run
sf project deploy start --source-dir force-app/main/default/classesto pushHelloWorld.clsto your org. - Run it: In the terminal, sf apex run -c “HelloWorld.sayHello();” —Check the output, or use sf apex tail log to view logs in real-time.
That first log line in the Console was my “I did it!” moment—VS Code’s polish came with a smooth deploy!
Breaking Down Apex Basics
Let’s dissect our code and explore Apex coding basics.
Variables and Data Types
Variables hold data—numbers, text, or flags. Apex uses data types:
- Integer: Whole numbers (e.g.,
Integer count = 5;). - String: Text (e.g.,
String msg = 'Hi';). - Boolean: True/false (e.g.,
Boolean isOn = true;).
Update HelloWorld:
public class HelloWorld {
    public static void sayHello() {
        String greeting = 'Hello, Salesforce World!';
        Integer repeats = 3;
        Boolean shout = true;

        if (shout) {
            greeting = greeting.toUpperCase();
        }

        for (Integer i = 0; i < repeats; i++) {
            System.debug(greeting);
        }
    }
}
Run it (re-deploy in VS Code if needed)—logs HELLO, SALESFORCE WORLD! three times. Variables make it dynamic!
Methods and Logic
- Methods: Actions like sayHello()—public static void means it’s callable without an instance and returns nothing.
- If Statement: Tests conditions (e.g., shout toggles case).
- For Loop: Repeats code (e.g., three shouts).
This combo was my first taste of Apex logic—simple yet mighty!
Apex in Action: Auto-Set Account Fields
Let’s try a real-world snippet—auto-setting an Account field.
public class AccountSetup {
    public static void setupNewAccounts(List<Account> accounts) {
        for (Account acc : accounts) {
            acc.Description = 'Created on ' + Date.today();
        }
    }
}
Run it:
- Console:
List<Account> accs = new List<Account>{new Account(Name = 'Test Inc')};
insert accs;
AccountSetup.setupNewAccounts(accs);
System.debug([SELECT Description FROM Account WHERE Name = 'Test Inc']);- VS Code: Deploy
AccountSetup.clswithsf project deploy start, then run the above viasf apex run -c "...".
Output: Created on YYYY-MM-DD (today’s date). My first practical Apex saved me manual edits!
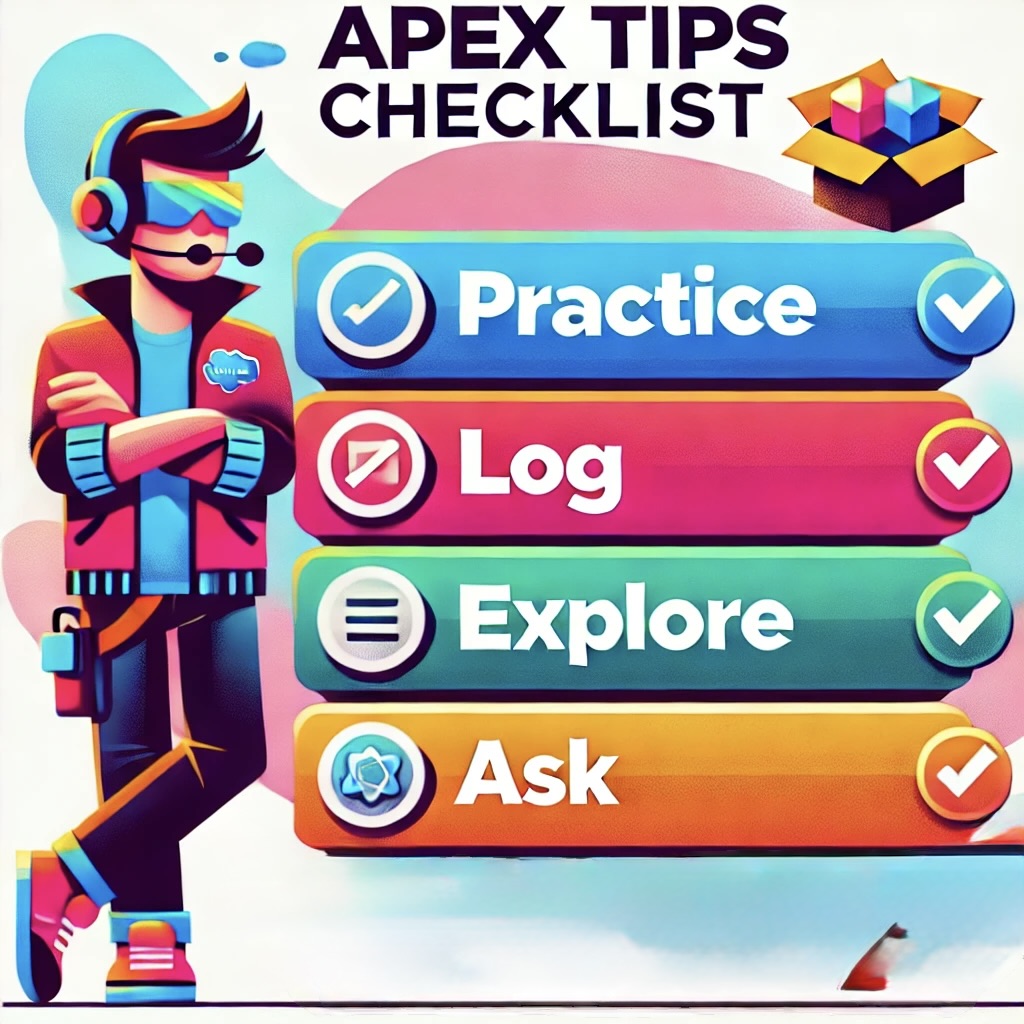
Tips to Master Apex Basics
- Practice: Tweak
sayHello()—change the message or repeats. - Log Freely:
System.debugis your friend—see what’s happening. - Explore Tools: Try both Console and VS Code—find your vibe.
- Ask for Help: Forums (Topic 13) are gold when you’re stuck.
Logging every variable turned my early confusion into breakthroughs!
Common Beginner Pitfalls
- Semicolons:
Integer x = 5 needs a ;. - Null Traps:
Check if (acc != null)to avoid crashes.
A missing ; once cost me an hour—details count!
Conclusion
In this Apex syntax tutorial, we’ve unleashed your Salesforce coding journey—setting up with the Developer Console and VS Code (using sf commands), coding “Hello World,” and tackling a real task. You’re now poised to learn Apex programming and dive deeper into Salesforce Apex programming. This is your launch—keep the momentum!
Next, we’ll master syntax and data types. For now, play with HelloWorld—add a twist or test VS Code. Practice fuels your path to mastering Apex programming! Thanks for starting this with me—see you in the next post!
Abhishek
Mr. Abhishek, an experienced Salesforce Application Architect with over 8+ years of development experience and 11x Salesforce Certified. His expertise is in Salesforce Development, including Lightning Web Components, Apex Programming, and Flow has led him to create his blog, SFDC Hub.